
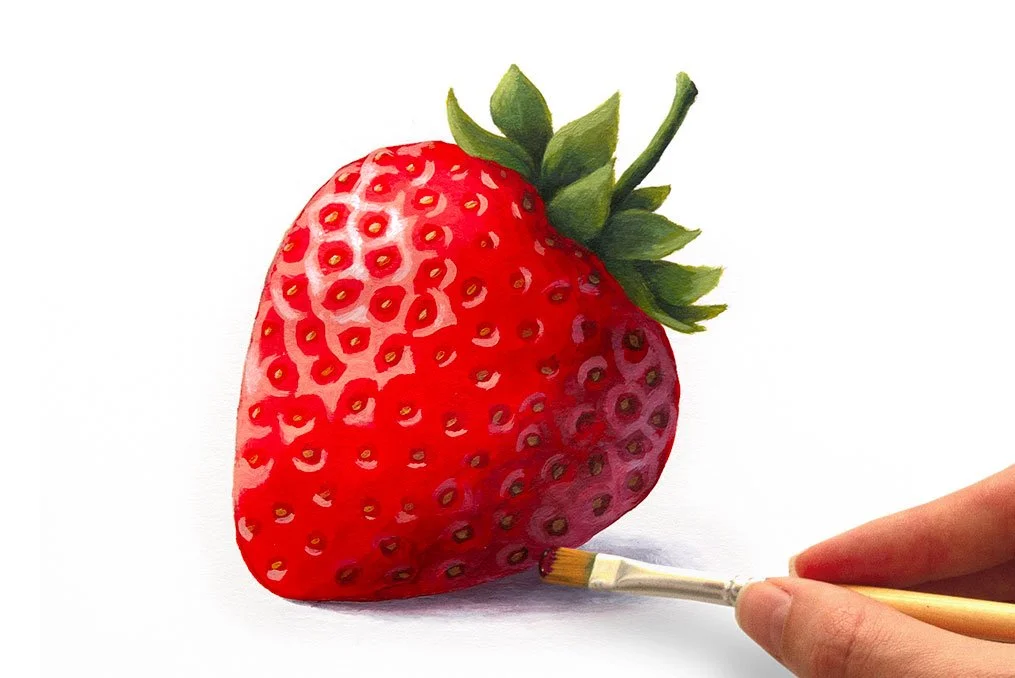
How to Paint a Realistic Strawberry
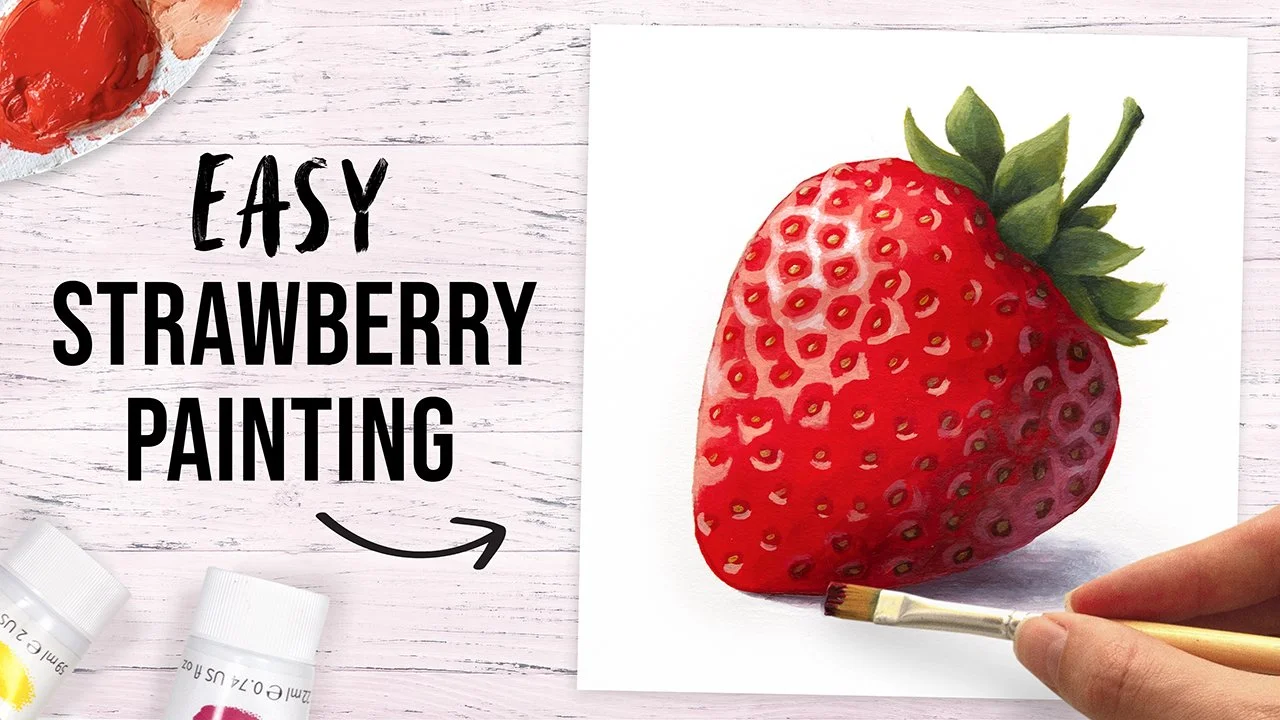
Want to learn how to paint a strawberry in acrylics? This easy acrylic painting tutorial is perfect for beginners and anyone looking for a fun, simple fruit painting project. By breaking the painting process down into simple steps, you can create a bright, juicy strawberry with realistic highlights, shadows, and texture.
This step by step strawberry painting tutorial is created by artist Rachel Froud, who creates full length acrylic art tutorials on her Patreon. In this tutorial she shows you how to paint a strawberry in acrylic paint from start to finish, including how to mix the colors, build up the shading, and add those tiny seeds and shiny highlights that bring your strawberry to life.
Rachel has also created a Youtube video, showing all of the steps needed to create this strawberry painting. You can watch this below:
To paint this realistic strawberry you will need:
Acrylic paints
Paintbrushes
Canvas or other surface to work on
Reference image (reference images and line drawings are uploaded to the full length tutorial)
You can access the full tutorial in real time by clicking the button below. When you join Rachel on Patreon you’ll get access to her full library of art tutorials, including food art, colorful animals, nature and more!
Let’s start painting!
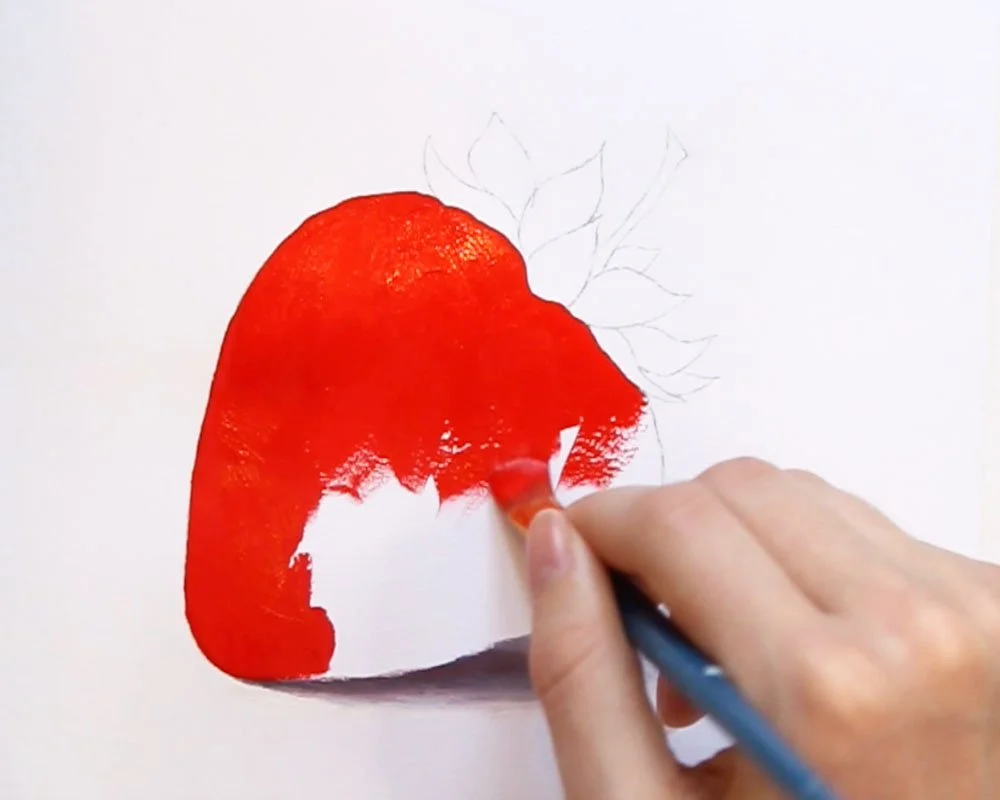
Begin by sketching out the outline of the strawberry onto your canvas. Paint the shadow underneath, making sure it is darkest the closer it is the the strawberry. Then fill the whole of the strawberry with bright red acrylic paint.
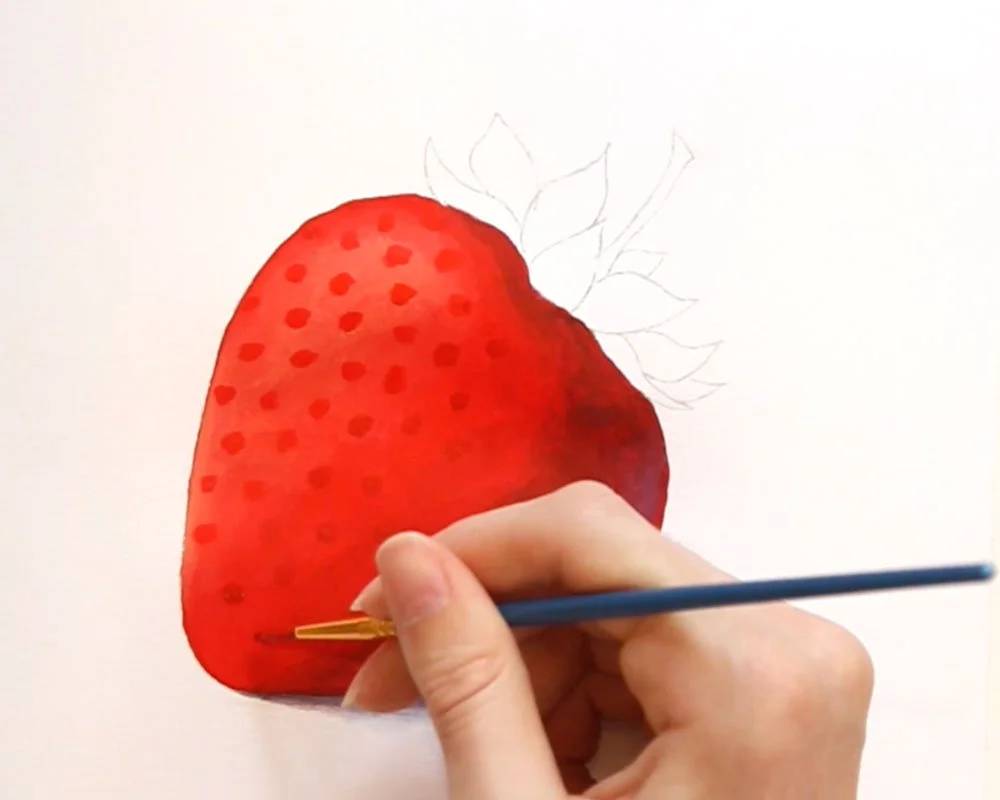
Add shape and form to the strawberry by painting a lighter shade of red on the top to create highlights, and a darker shade at the bottom to create the shadows. Then use the darker shade of red to paint small circles over the whole of the strawberry.
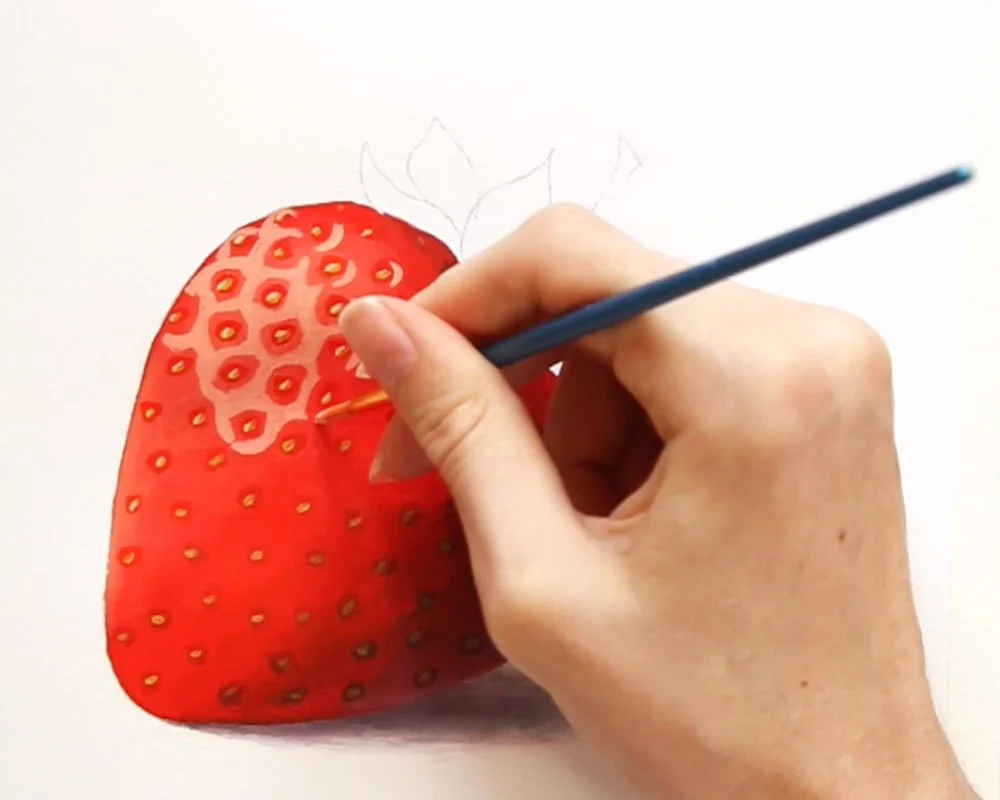
Use a dark shade of yellow acrylic paint and a very small paintbrush to paint a small oval into each dark red dot over the whole of the strawberry. This is the easiest way to create the seeds. Then, use a light red shade of acrylic paint to paint the shiny highlight around the dots at the top of the strawberry. These highlights will get smaller as you move towards the shadowed side.
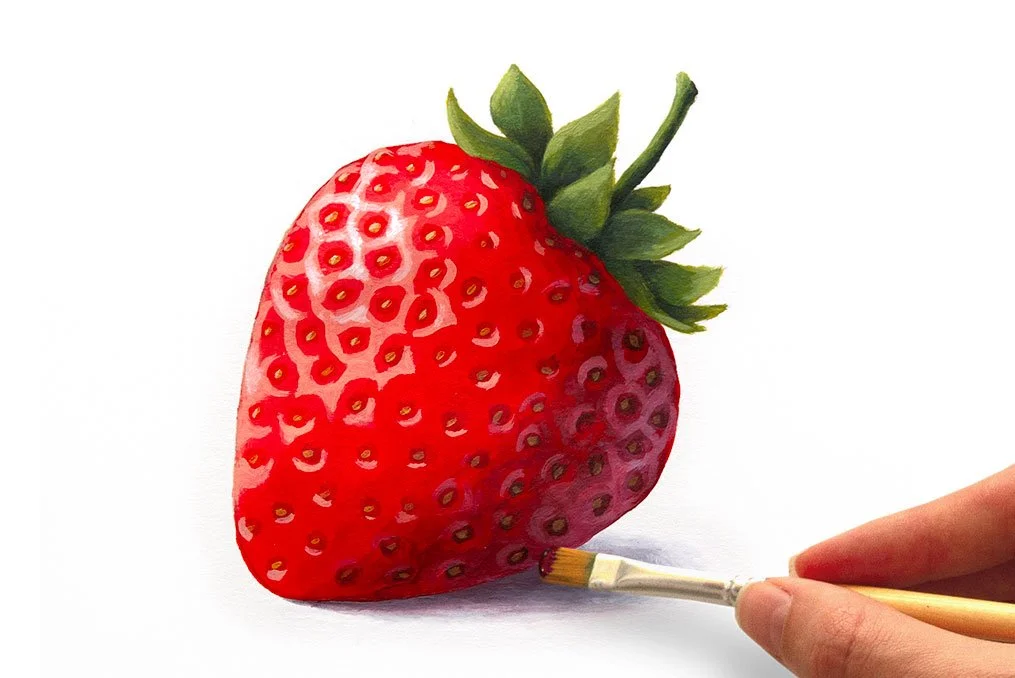
To finish your strawberry painting, mix up some natural shades of green paint, from light to dark. Use these paints to add the leaves and the stalk to the top of the strawberry. Creating the shadows with the darkest greens, and the highlights with the brightest shades.
If you want to know how to mix the right shades and get the exact right color every time you are painting, check out the video below. This video shows you the techniques you can use to replicate any color!
And that’s how you paint a realistic strawberry in acrylic paints! Watch the video at the top of this post to get these instructions in more detail, and don’t forget to subscribe to Rachel’s Patreon to get access to the full tutorial and lot’s of other acrylic art lessons!


