
Marble Gift Box Craft
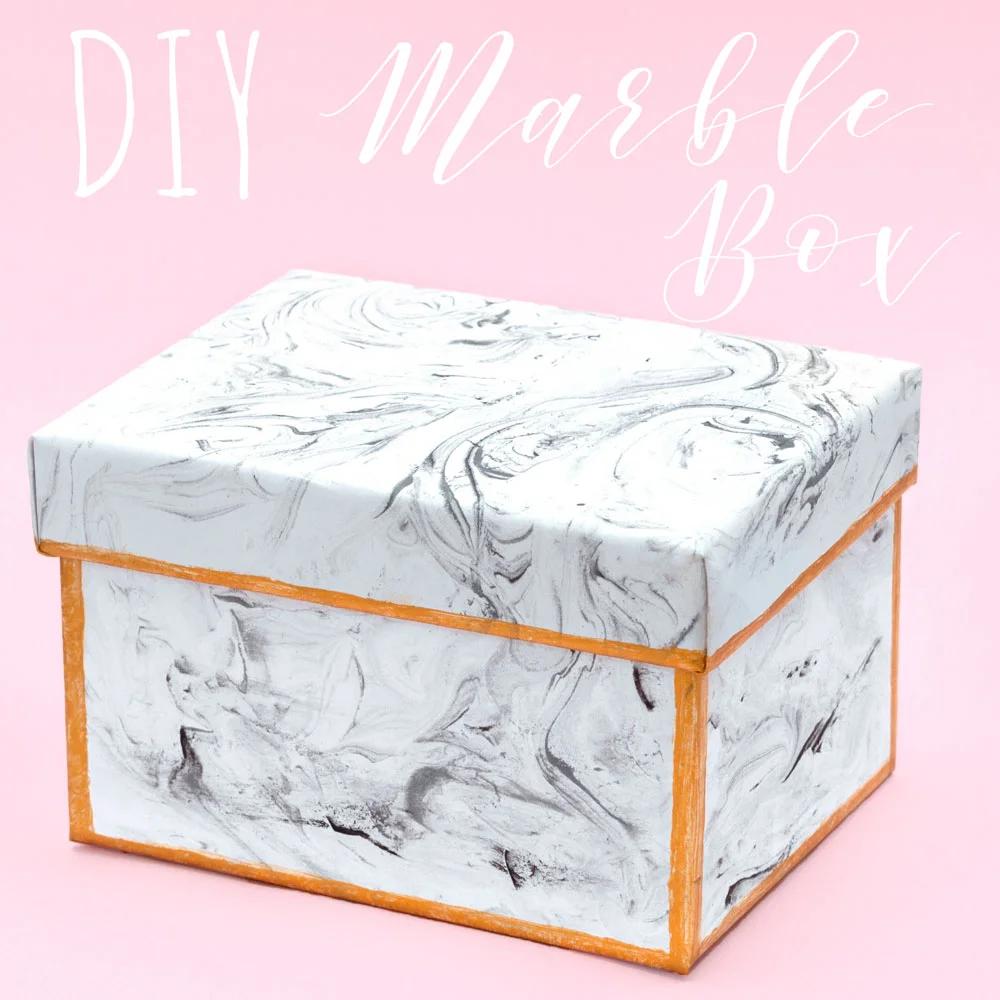
Make your own marble effect gift box with this simple but effective craft tutorial! Either give it to your loved ones as a stylish gift box, or add it to your home to store jewellery and make up!
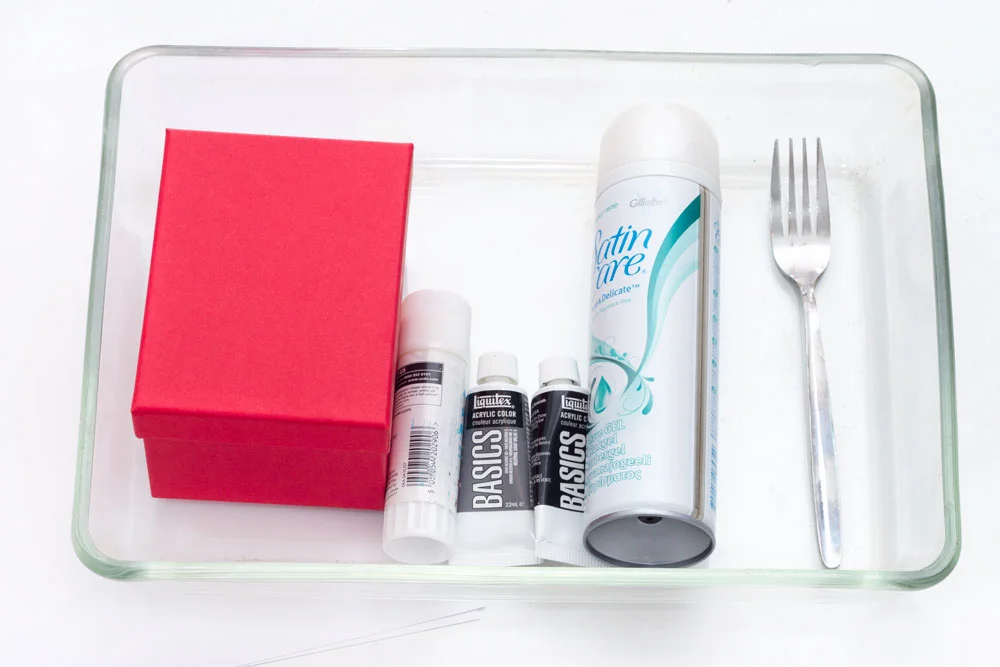
To make this marble effect box you will need:
Fork or mixing stick
Glue/double sided tape
Scissors
Tray
Ruler
Thick white paper
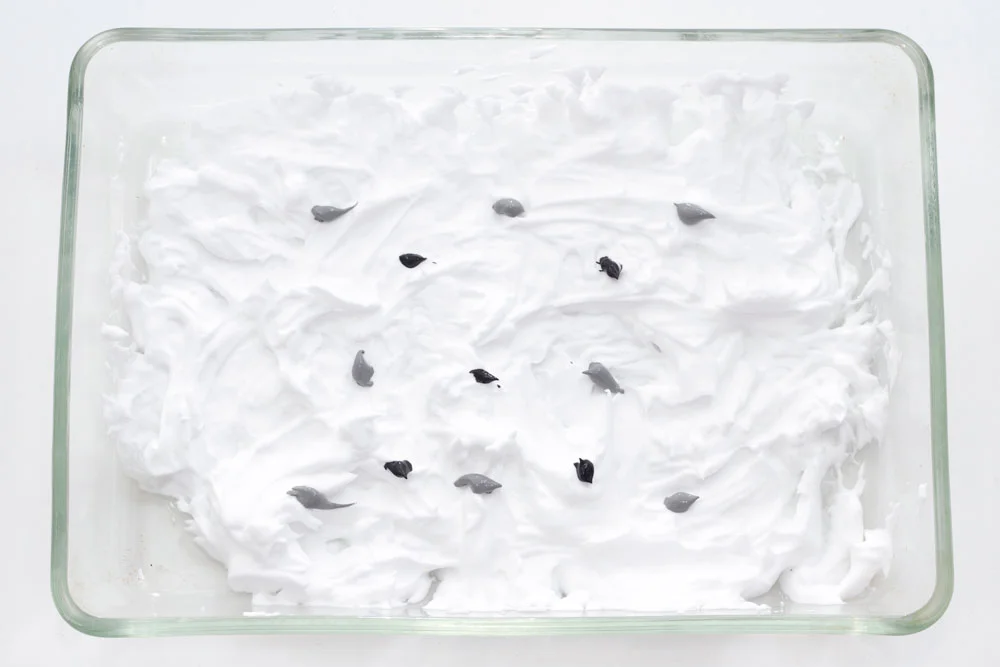
Step 1
Squirt the shaving foam or gel into the tray (you will need quite a lot!) If you are using shaving gel, you will have to froth it up by moving it around with your fingers really quickly - this should make it nice and foamy. Then, add small dots of black and grey paint on top of the shaving foam in random places. If you want a coloured marble effect then use different coloured paints.
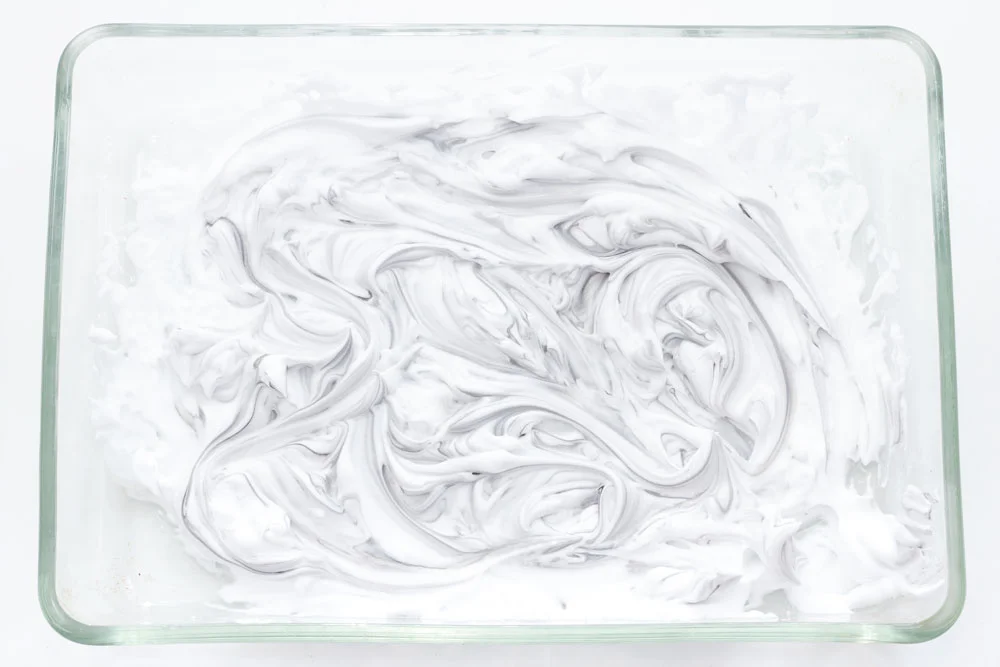
Step 2
Use the fork or mixing stick to mix the paint into the shaving foam. Be careful not to mix it too much as you will want to keep that nice swirly pattern - that's what will give you the marble effect.
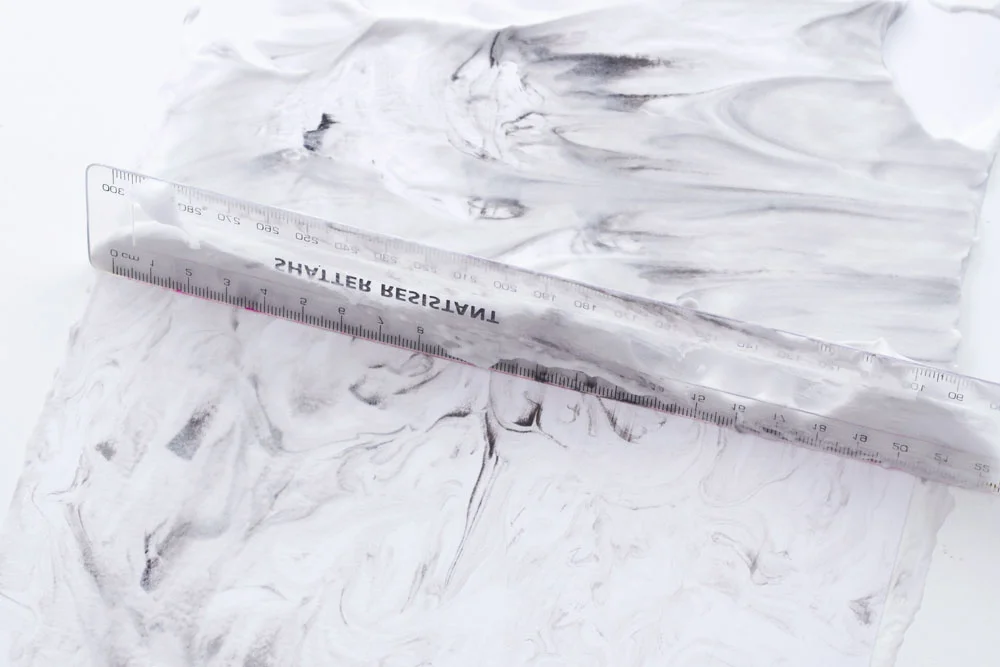
Step 3
Place a piece of thick white paper on top of the marbled shaving foam in the tray and gently push down to ensure the foam covers the whole surface of the paper. Remove the paper from the tray and use the ruler or scraping stick to scrape off all of the excess shaving foam. This should leave a marbled effect from the paint on the paper!
Repeat steps 1-3 until you have enough marble paper to cover your box with. Leave the papers to dry.
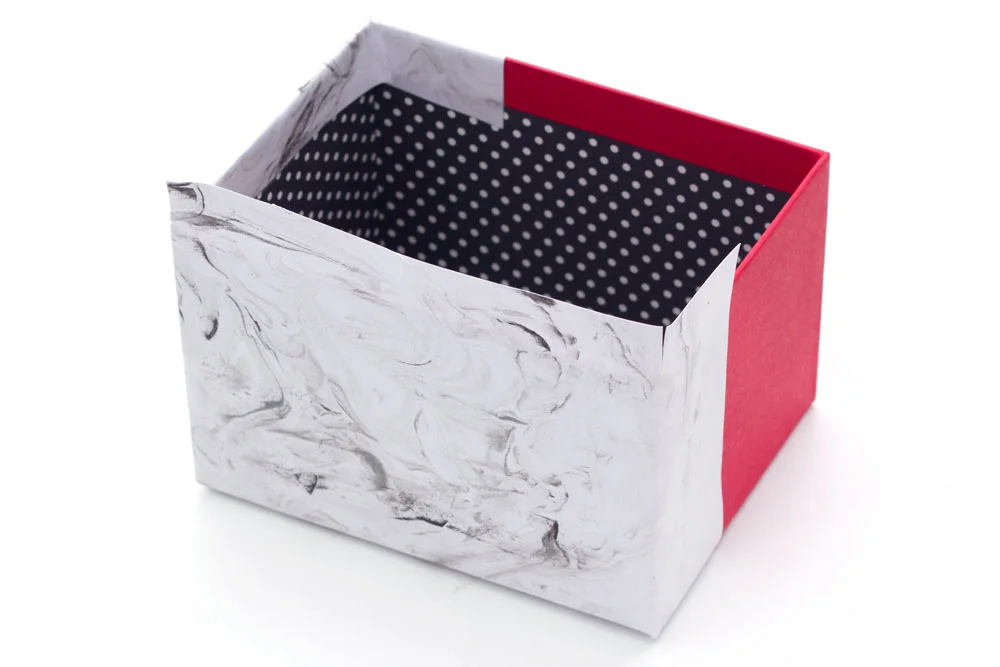
Step 4
Once the marble paper is dry, you can start covering the box. Use either glue or double sided tape to stick it down. Cut slits in the paper where it folds around the corners - this will help when folding it down inside and under the box.
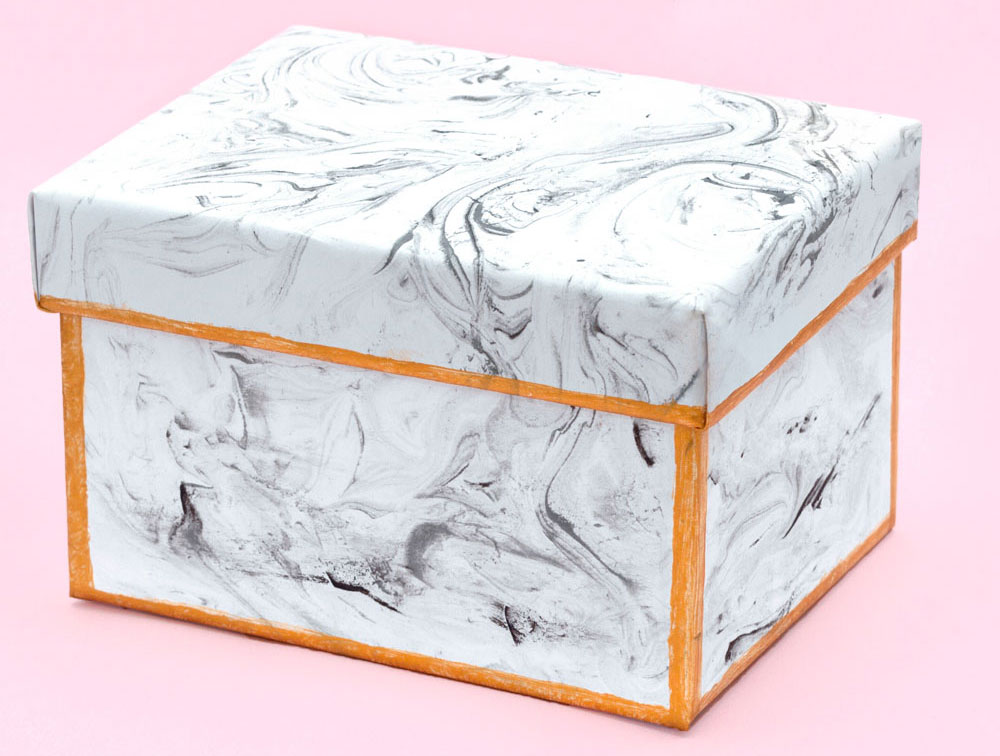
Step 5
Once the box is covered with the marbled paper, you can decorate it further if you wish! I decided to paint gold onto the edges of the lid and the corners of the box.
Subscribe to my newsletter to receive fun craft ideas, offers and freebies!
Please note: this blog post contains affiliate links, however all opinions are my own and I only link to products that I personally use and recommend.


