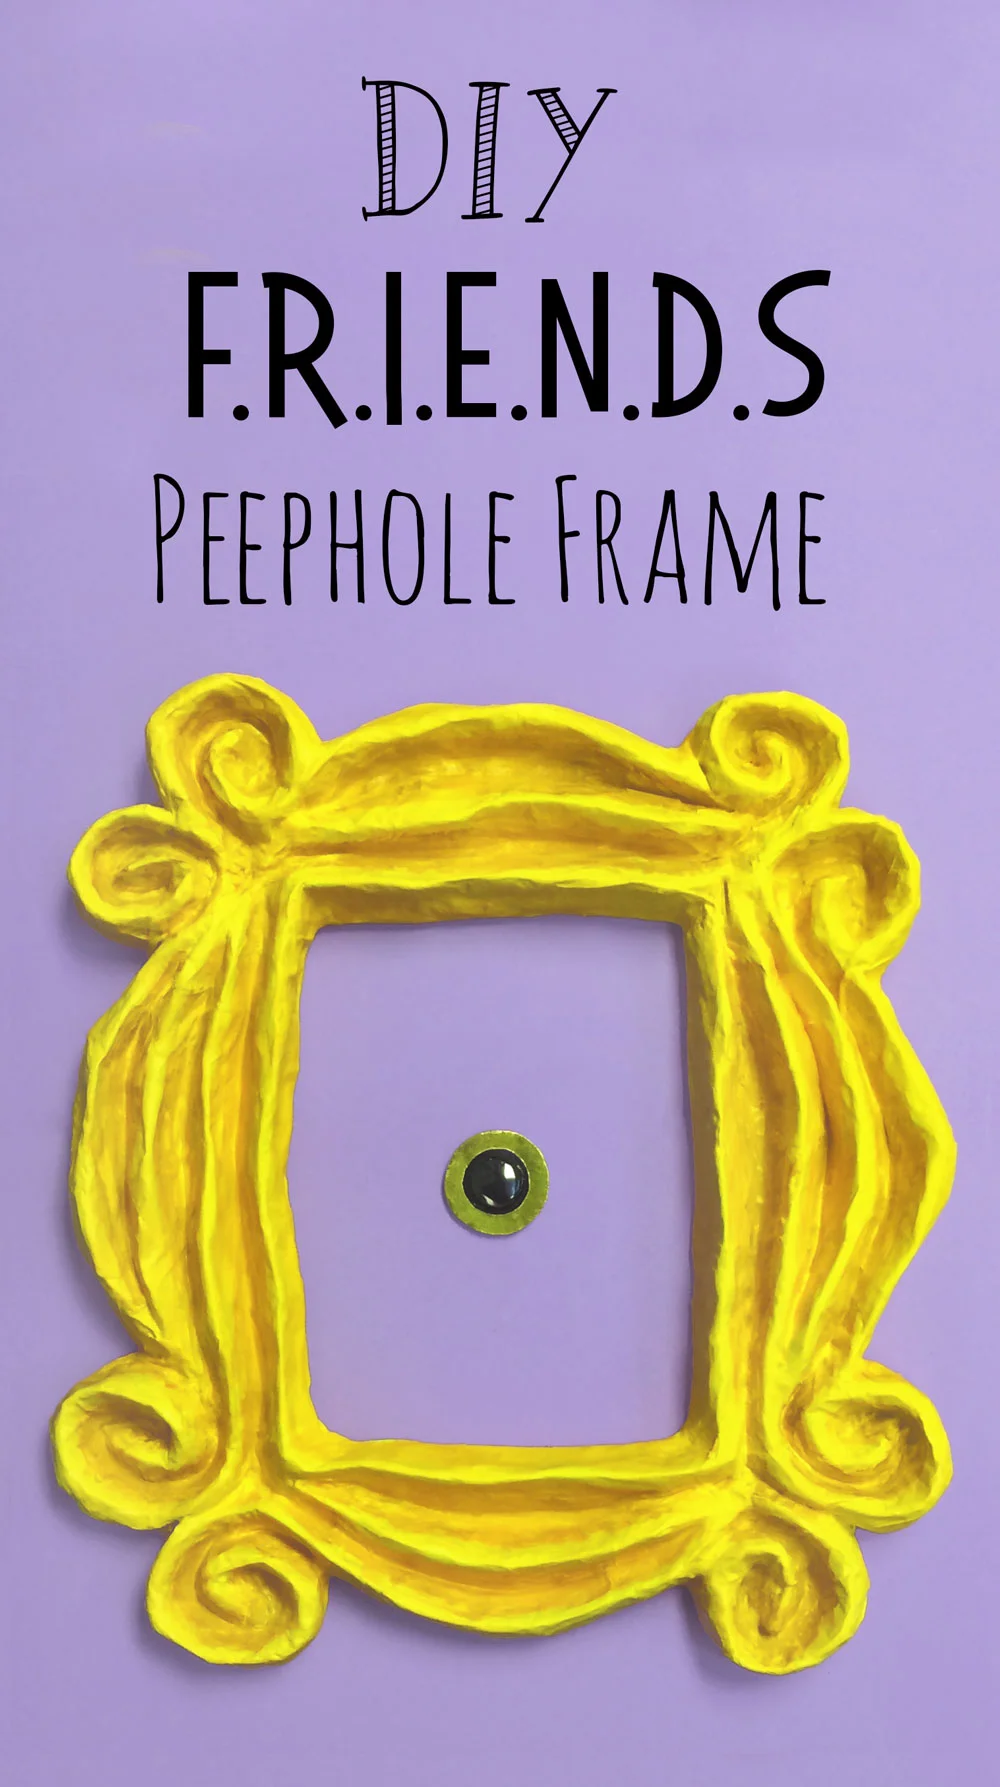
DIY Friends Peephole Frame
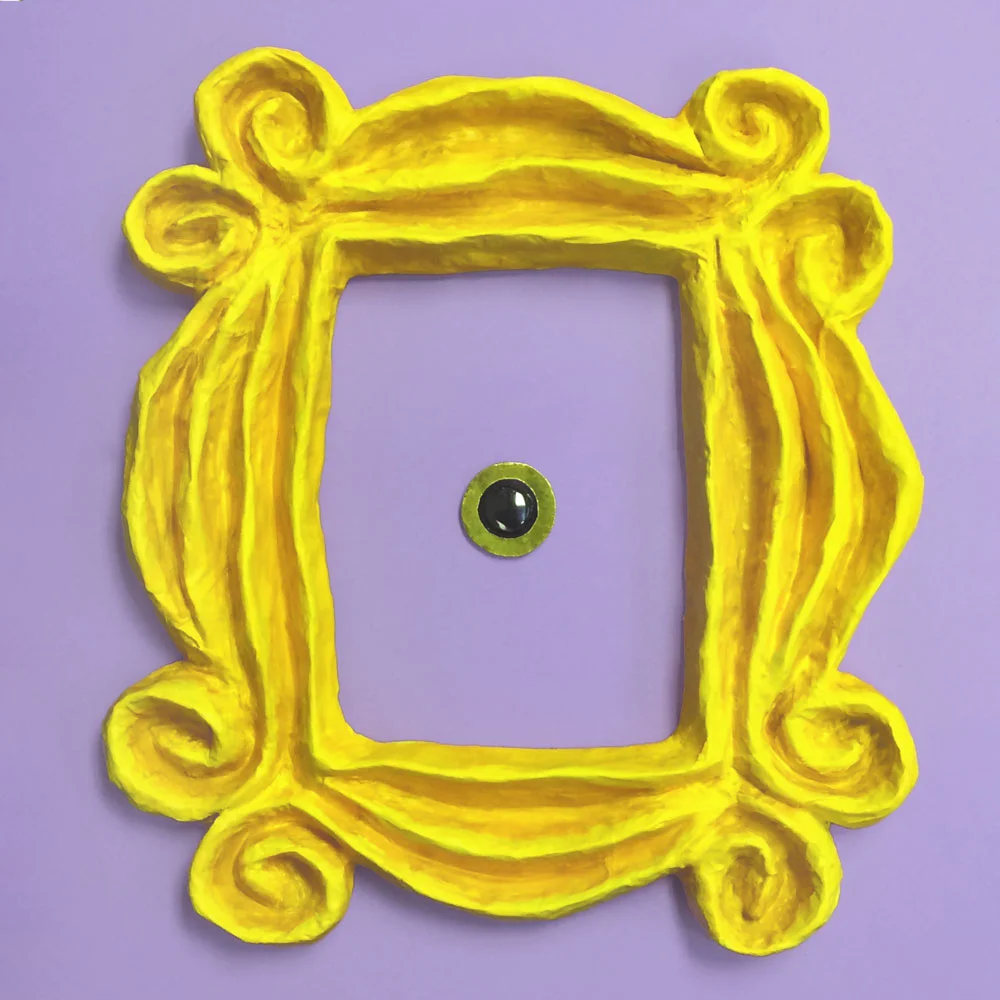
Make your own DIY Friends peephole frame, as seen on the back of Monica's door! I have loved the TV show Friends ever since I can remember and I have always wanted my own peephole frame. I couldn't find any to buy so I decided to make one myself. I have written the instructions below if you want to do the same!
To make this DIY Friends frame you will need:
Cardboard
Newspaper
Paint Brush
Scissors
Mixing Bowl
Pencil
Step 1:
Apologies for the lack of photo for this step! I didn't manage to take one, so have drawn an illustration for it instead.
Draw the outline of the friends frame onto a piece of thick cardboard. Mine was approximately 20cm tall, however it can be any size you like. Use a pencil to draw the swirly lines onto the front of the cardboard frame. You will use these as a guide later on.
Cut a piece of wire and push the ends though top of the back of the frame, then bend them over at the front to keep it in place. This will be used to hang the frame when it is finished.
Step 2:
Put some glue and a little water into a mixing bowl and mix together to create a paper mache paste, then tear your newspaper into lots of thin strips. Take one strip and dip it in the glue mixture, then wipe it with your fingers to remove the excess glue. Twist the newspaper strip to create a thin 3D strip and place it onto the outline of the frame. Continue this until the entire outline of the frame has a raised edge. Use this same technique to create a raised edge on all of the pencil lines that you created in step 1, then leave it to dry.
Then tear some more strips of newspaper and dip them into the paper mache mixture. Use these strips to cover the entire frame, holding the raised edges in place whilst also creating a smoother appearance. Add another layer and then leave to dry.
Step 3:
This step isn't 100% necessary, however it makes it a lot easier when you come to painting your frame!
Once the Friends frame is dry, tear up some strips of white tissue paper. Then dip them in the glue paper mache mix and cover the frame the same way that you did in step two. This will hide the print from the newspaper and create a lighter surface for you to paint on to. Leave the Friends frame to dry completely.
Step 4:
Once your DIY Friends frame has completely dried, it's time to start painting! Mix up a golden yellow colour of acrylic paint, then cover the entire frame in this shade. Apply another coat of paint if needed. Then mix up a slightly darker shade and paint this only onto the lower sections of the frame, in between the raised edges. Finally, mix up a slightly lighter shade and paint this only onto the tops of the raised edges of the frame. This technique will emphasise the shape and detail of the frame.
Once the paint is dry your DIY friends frame is ready to hang! If you are really committed you could even paint your door purple and add a peephole!
Subscribe to my newsletter to receive fun craft ideas and freebies!
Please note: this blog post contains affiliate links, however all opinions are my own and I only link to products that I personally use and recommend.


