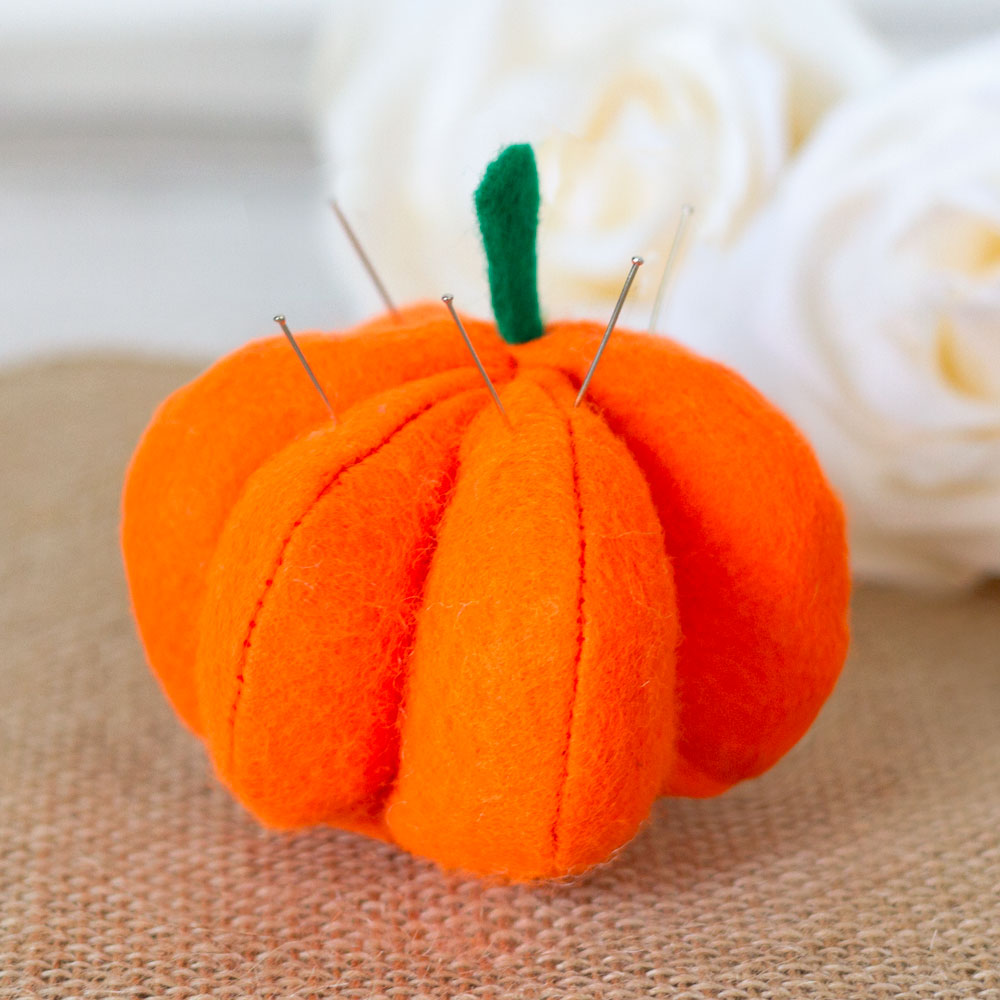
Fall Crafts - DIY Pumpkin Pin Cushion
This DIY pumpkin pin cushion is a great craft to make this fall. This is a simple sewing craft to make, so crafters of all levels will be able to make it. It's a great place to store your pins and needles when making your autumn crafts. You could even add eyes and a mouth and use it as a Halloween decoration!
To make this pumpkin pin cushion you will need:
Pins
Needle
Scissors
Stuffing
Step 1
Cut out six identical oval shapes from an orange sheet of felt. Then pair them up into twos and pin the two piece of felt together. You will also need to cut a small pumpkin stalk shape from some green felt. You can also make this without a sewing machine if you want by sewing by hand.
Step 2
Take one of the pairs of orange felt and sew around the edge with your sewing machine. Don't sew all the way around, make sure you leave a gap at the bottom of the pumpkin shape about an inch wide.
Repeat this with the other two pairs of felt. With one pair, place the green felt stalk in between the two layers of orange felt, at the top of the circle, before sewing together. Make sure the longest part is inside the orange felt.
Then fold the three orange pumpkin shapes the right way round.
Place the three orange piece of felt on top of one another, with the one with the green stalk in the middle. Then stitch in a straight line directly up the middle of the pumpkin.
There will now be six small gaps at the bottom of your felt pumpkin. Fill each of these with stuffing and your pin cushion will begin to have a pumpkin shape. Once the pumpkin is fully stuffed, sew up the gaps at the bottom using a needle and thread.
Subscribe to my newsletter to receive fun craft ideas and freebies!
Please note: this blog post contains affiliate links, however all opinions are my own and I only link to products that I personally use and recommend.
This post is part of the #DIYBlogChallenge, check out the links below to see more autumn and fall crafts from these lovely craft bloggers:


