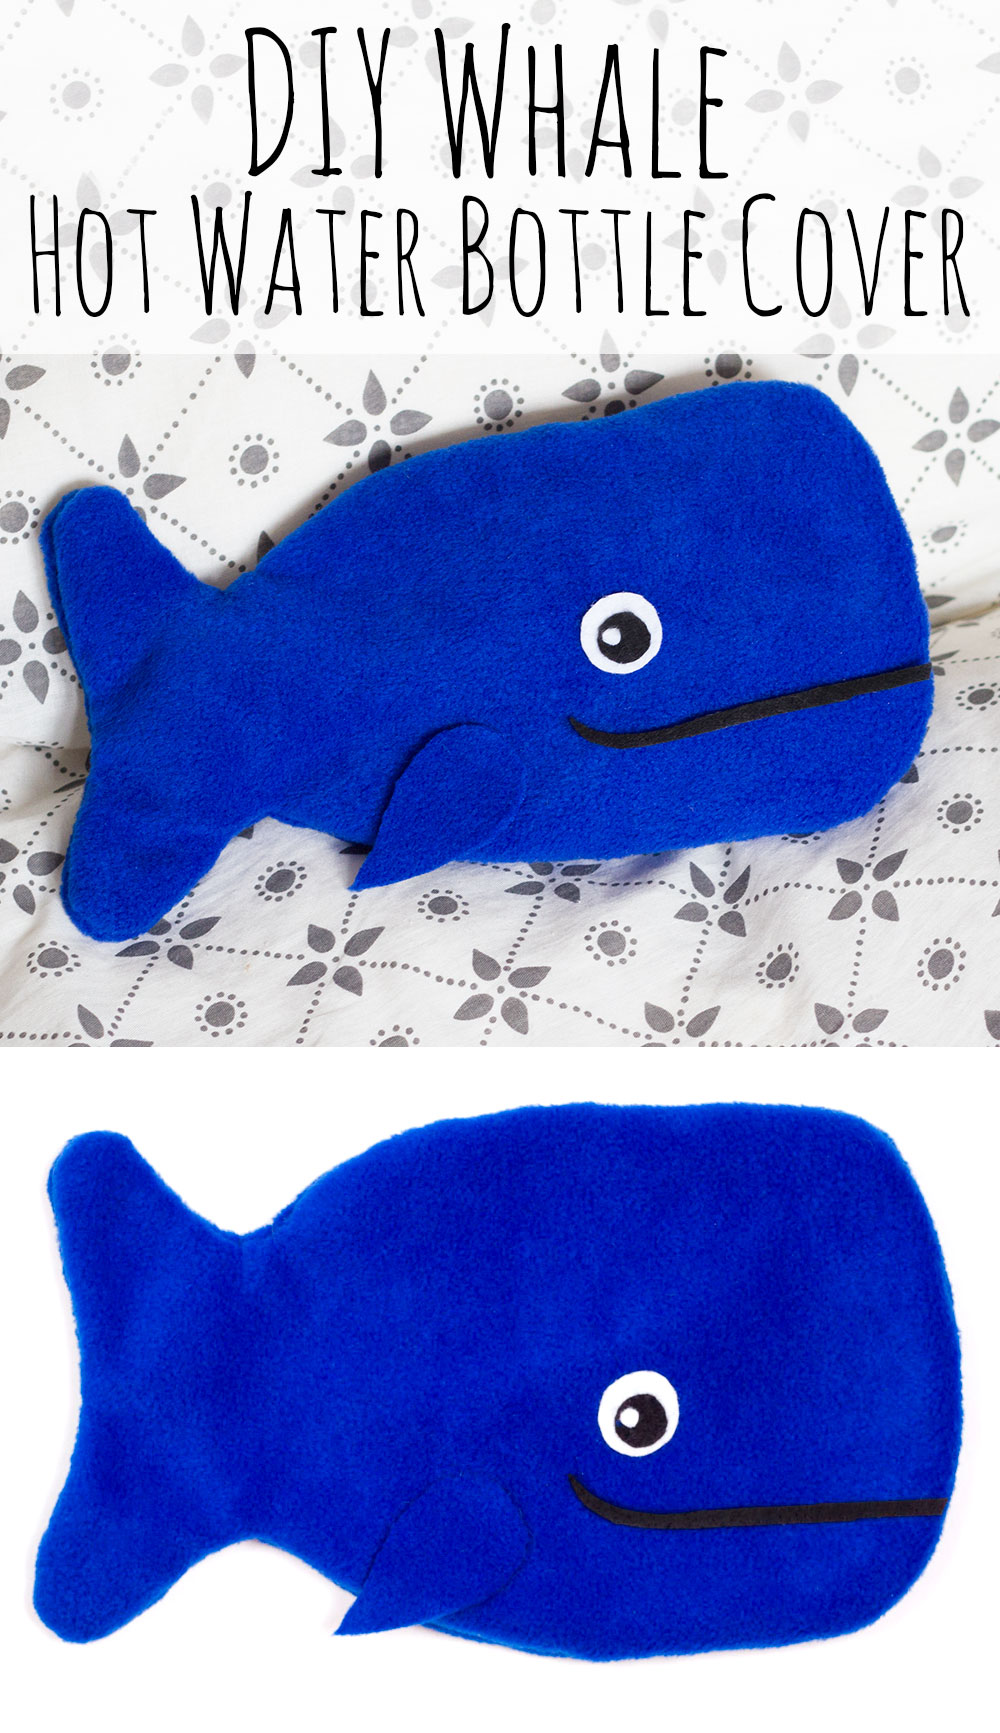
DIY Whale Hot Water Bottle Cover
Learn how to make your own DIY whale hot water bottle cover with this fun craft tutorial. This would make a lovely handmade gift for the kids, or make one for yourself!
To make this DIY hot water bottle cover you will need:
Insulation (optional)
Hot water bottle
Step 1:
Take your hot water bottle and place it on top of your blue material. Draw around the hot water bottle with the fabric pen/chalk at least an inch away from the edges. When you get the the top of the hot water bottle make the two ends slightly wider so they look like a whale's tail. Cut around this shape, this will make the front piece of the cover.
To create the back of the cover you will need to make two separate pieces that overlap. For the first piece, take the whale shape that you have just cut out and place it on top of more of the blue material. Pin it in place and cut around the bottom part of the shape until just before the tail. Then unpin and remove the first whale shape, and cut directly across the second, creating a shape similar to the above photo (back 1).
To create the second back shape use the same technique, however with the top end of the hot water bottle shape. Cut around this shape until approximately half way down.
Step 2:
Place the second back shape on top of the whale shape and pin in place. Making sure the side of the material you want to be the outside of the cover is facing inwards (as we will turn this inside out at the end). Then sew these two pieces of material together as close to the edge as possible, leaving the bottom edge open. For this tutorial I just used a quick hand stitch, however if you want to make the cover strong I would recommend using a sewing machine.
If you want the cover to keep the hot water bottle extra warm, try adding a layer of insulation to each section before sewing them together.
Step 3:
Place the first back shape on top of the whale shape and pin in place. Then sew around the outer edges, leaving the middle section open.
Step 4:
Carefully turn the whale inside out so the hot water bottle cover is now the right way around. Then create an eye and a mouth out of white and black material or felt and glue the the front of the cover. Finally cut a fin shape out of the blue material and stick to the cover and your hot water bottle cover craft is finished!
Subscribe to my newsletter to receive fun craft ideas and freebies!
Please note: this blog post contains affiliate links, however all opinions are my own and I only link to products that I personally recommend.


