
DIY Travel Activity Case From a DVD Box
Make your own travel activity kit from a DVD case! This DIY activity case is a perfect craft to make for the kids to keep them entertained on long journeys or rainy days. It's easy to make from an old DVD box and the possibilities are endless!
Have a look at the video at the end of this post to see me making these activity cases! For written step by step instructions see below:
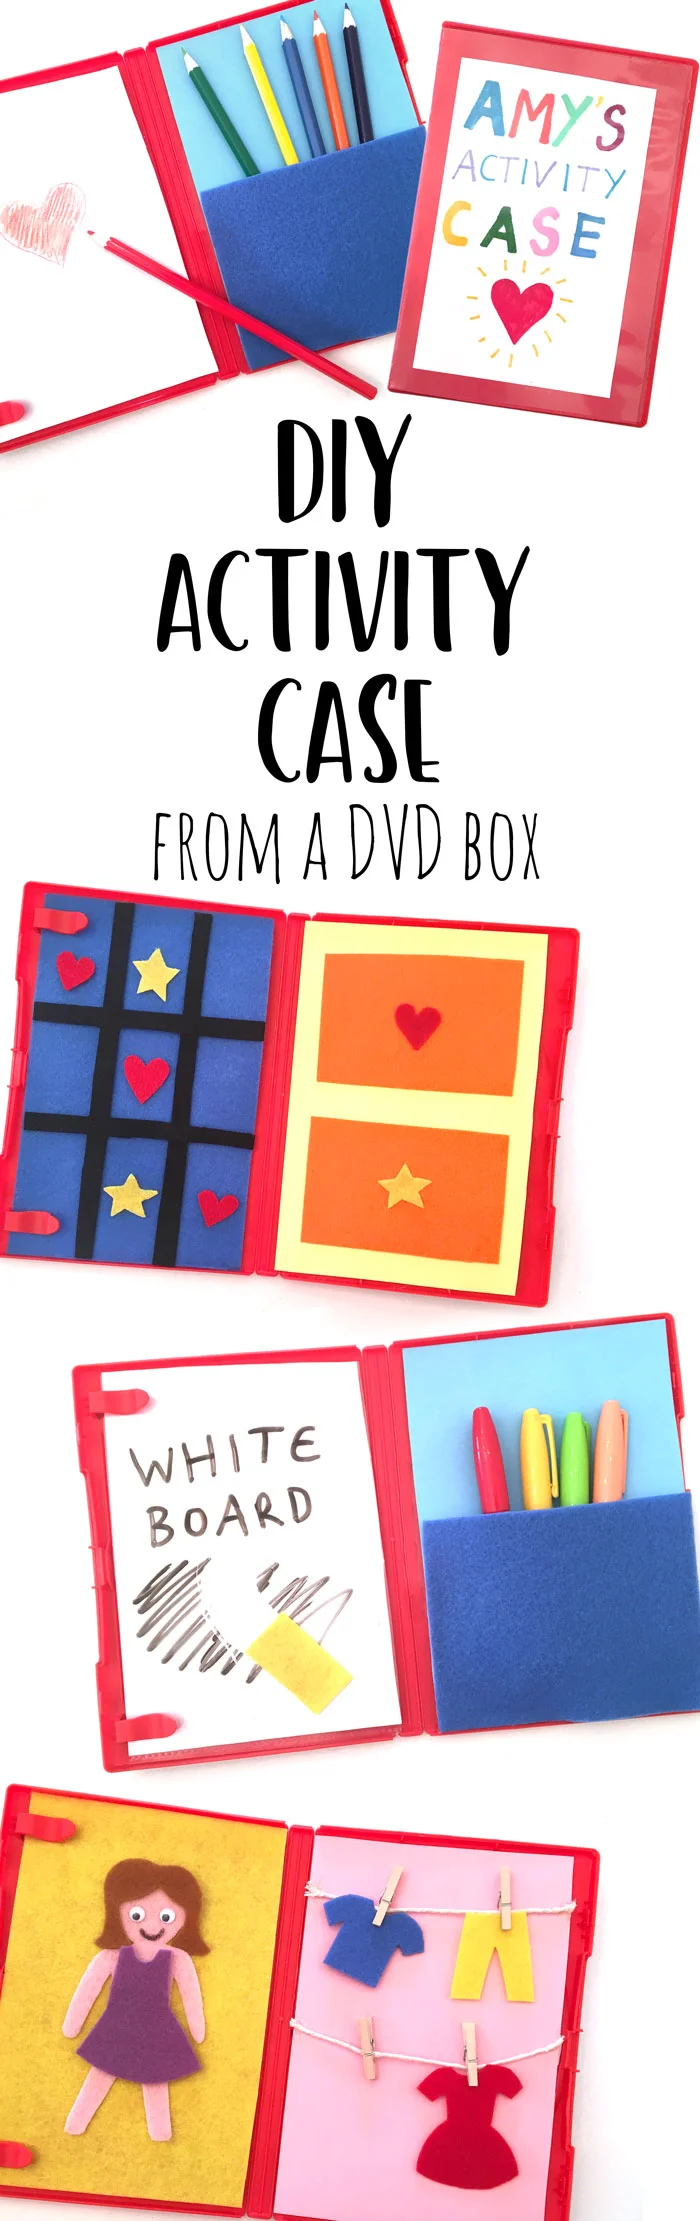
DIY Activity Case 1: Colouring and Drawing
This colouring and drawing travel kit is perfect for keeping the children happy on a long journey!
To make this colouring case you will need:
DVD case
White Paper
Scissors and/or sharp knife

Step 1
You need to remove the circle on the inside of the case to create a flat surface. Use a sharp knife to make a hole in the plastic DVD case at the edge of the raised circle, then use scissors to cut it out. Try not to cut the clear plastic on the outside of the box.
Step 2
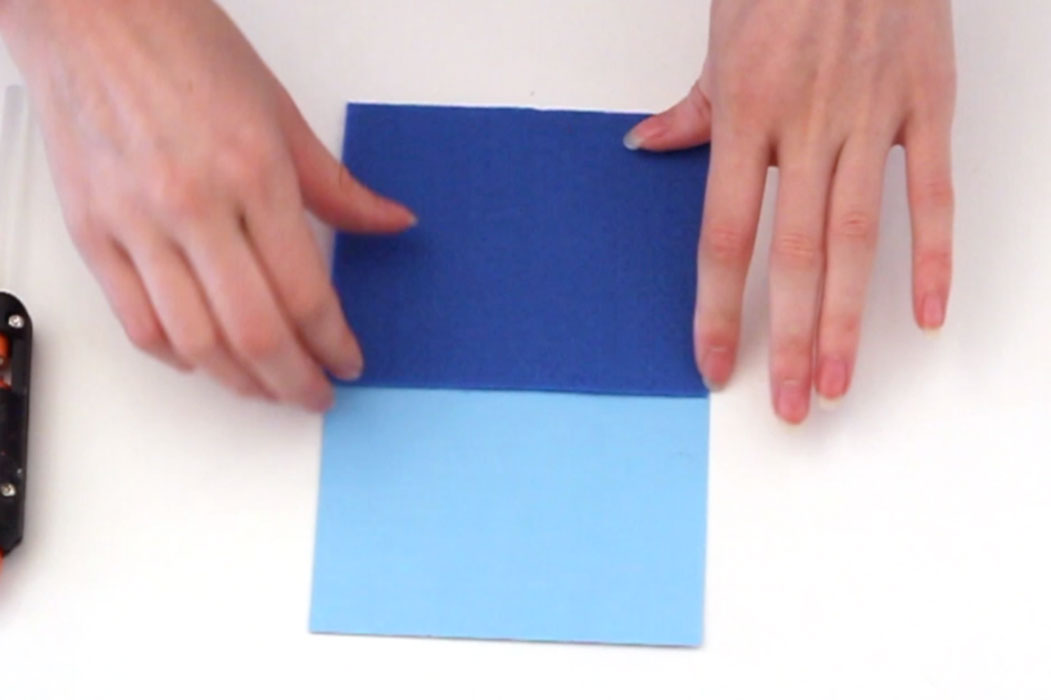
Take a sheet of card and cut it down so that it is the same size as the right hand section of the DVD case. Then cut a piece of felt that is the same width as the card, but only half the height. Use the glue gun to add glue to the two shorter side edges, and the bottom edge, and stick it to the bottom of the card. The edge of felt with no glue should be at the top, creating a pocket. This will hold the colouring pencils.
Step 3
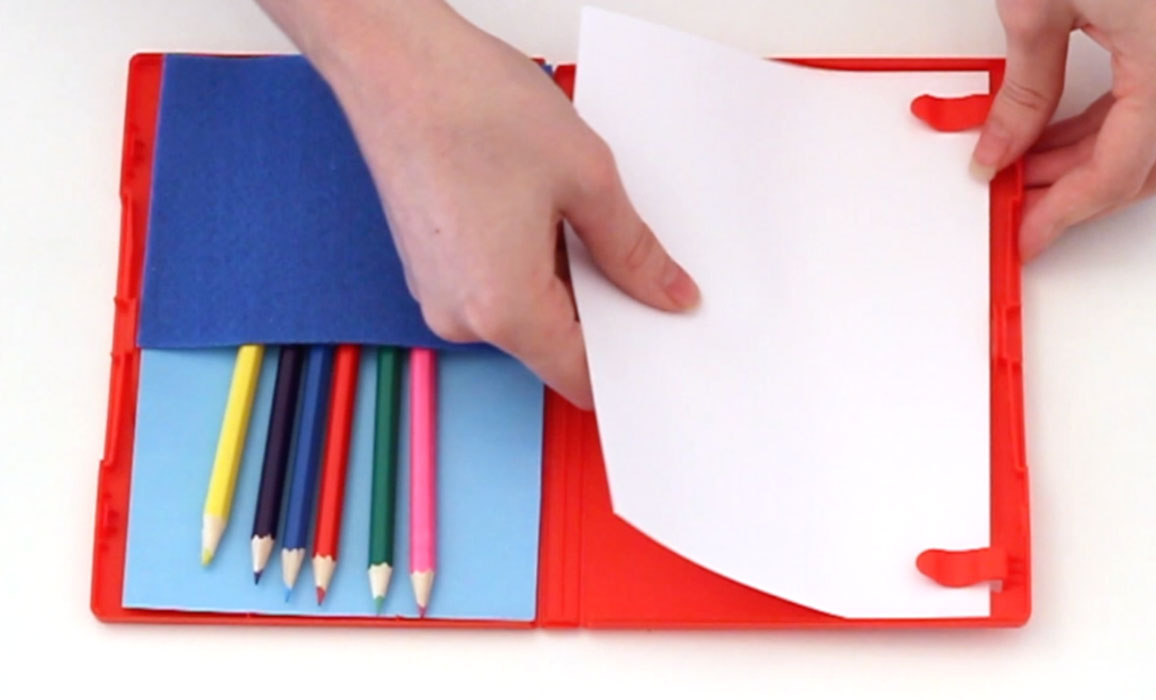
Glue the right hand side of the DVD case and stick down the pocket that you created in step 2. Then cut some white paper so that it is the same size as the left hand side of the case, then push it underneath the two plastic tabs to hold it in place. Add your colouring pencils to the pocket and your DIY travel colouring kit is finished!
DIY Activity Case 2: Whiteboard

This DIY whiteboard is perfect for long journeys! The kids can create endless amounts of pictures without you having to pack loads of paper.
To make this DIY whiteboard case you will need:
DVD case
White Paper
Scissors and sharp knife

Step 1
Repeat steps 1 and 2 from the colouring case tutorial above, to remove the raised circle in the DVD case and create a pocket for your whiteboard pens.
Then cut a sheet of white paper to be the same size as the left hand section of the case. Put this sheet of paper inside a clear plastic sleeve and then trim the sleeve down to be the same size as the paper. Make sure you leave at least two sides of the plastic sleeve in tact so that it doesn't fall apart. This will create the whiteboard.

Step 2
Put the whiteboard underneath the tabs on the left hand side of the DVD case to hold it in place. Then glue the pocket for the pens into the right hand side of the case. Cut a small rectangle out of a sheet of felt and place it on top of the pocket - this will be the whiteboard eraser. Add your whiteboard markers and your DIY whiteboard is complete!
DIY Activity Case 3: Dress Up Doll
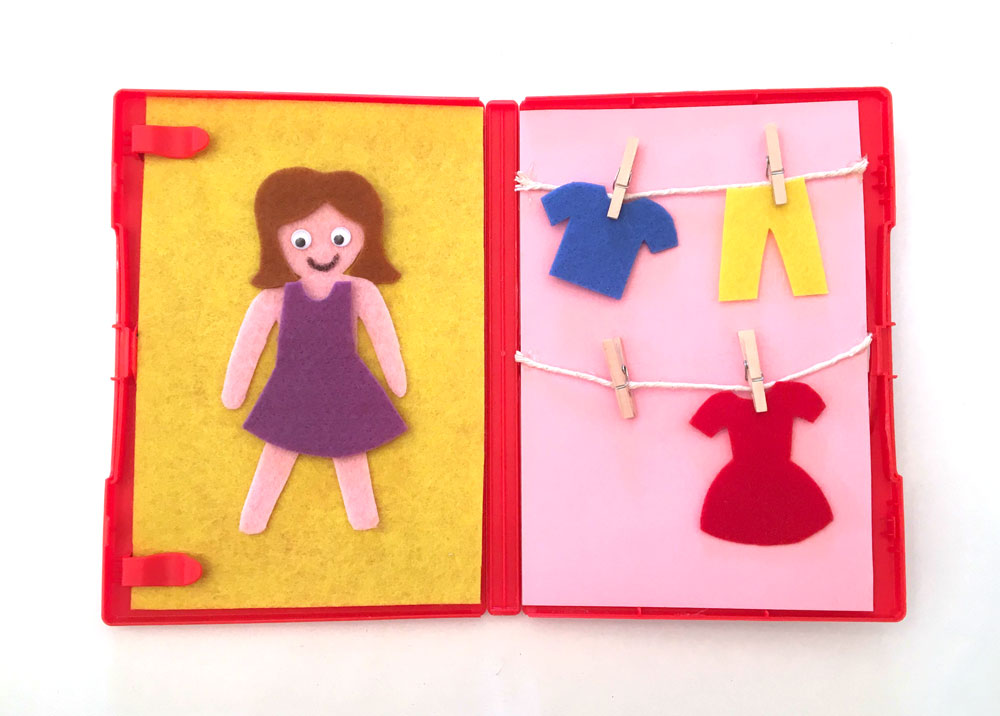
This DIY dress up doll craft is a great activity for little girls! The felt sticks to itself so the clothes stay in place on the doll, and you can make as many different outfits as you want!
To make this dress up doll activity you will need:
DVD case
Black Pen
String
Scissors and sharp knife

Step 1
Repeat step 1 of the colouring case tutorial to remove the raised circle in the DVD case. Then measure the height of the DVD box and cut out a body shape slightly smaller than that height out of some skin coloured felt.

Step 2
Cut out a yellow sheet of felt to make it the same size as the left hand part of the DVD case, and put it underneath the plastic tabs. Then glue your body shape to this felt, add some hair and eyes and draw on a mouth to create your doll.
Step 3
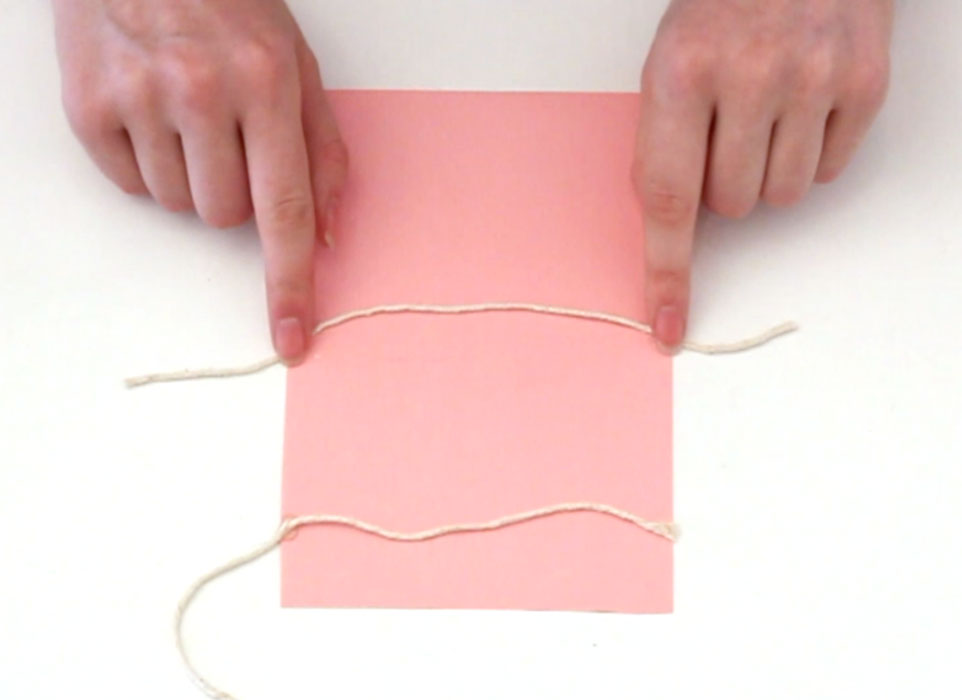
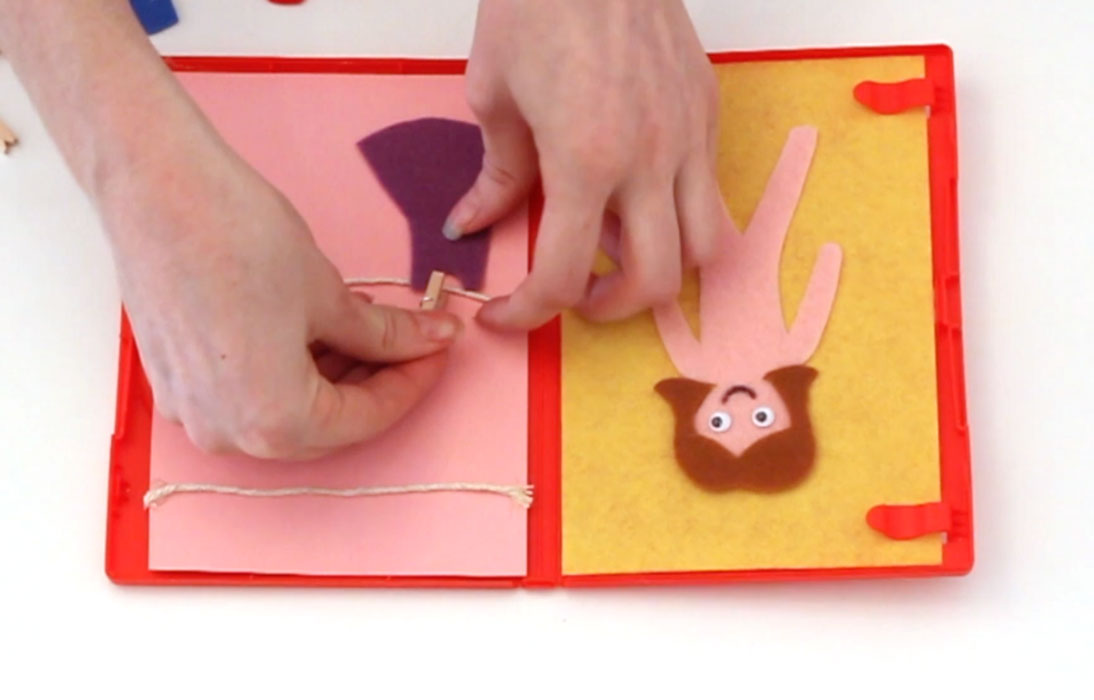
Cut out a sheet of coloured card to make it the same size as the right hand part of the DVD case. Then attach two pieces of string to the card, gluing only the ends of the string. This will create the doll's wardrobe. Glue the wardrobe into the right hand section of the case.
Step 4
Cut out some clothes from different sheets of felt, this could include dresses, skirts, tops, shorts and so on. Then use mini clothespin pegs to hang the clothes up on the pieces of string.
DIY Activity Case 4: Tic Tac Toe

This travel tic tac toe is a great craft to make for the kids. This is sure to keep them busy on plane journeys, car rides, or even staying in on a rainy day!
To make this DIY tic tac toe case you will need:
DVD case
Scissors and sharp knife
Step 1
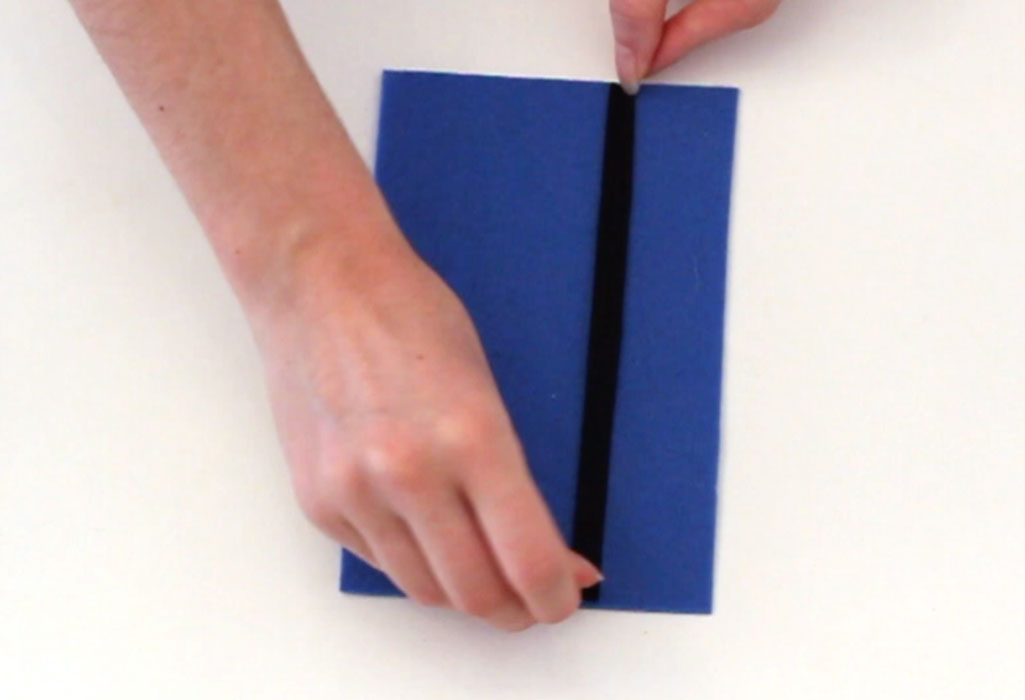
Repeat the first part of the DIY colouring case to remove the raised circle from the DVD box. Then cut out a piece of felt to make it the same size and the left hand part of the box. Cut four thin strips of black felt and glue them on to this sheet of felt to create the grid for the tic tac toe. Push this grid underneath the two tabs on the left of the DVD box to hold it in place.

Step 2
Cut out a sheet of card to make it the same size as the right hand part of the box. Cut out two smaller rectangles from a sheet of felt. Take one and glue three edges, then stick it to the top of the card. Make sure you have the non-glued edge at the top, creating a pocket. Repeat this with the other piece of felt to create another pocket underneath.

Step 3
Glue the sheet of card with the two pockets on to the right hand side of the DVD case. Then cut out 6 small hearts and 6 small stars (or your choice of shapes) out of different coloured felt. Glue one heart to the front of the top pocket and one star to the bottom pocket. Then put the rest of the hearts in the heart pocket, and the stars in the other. When you want to play tic tac toe, simply open your case and take the pieces out of the pockets and onto the grid!
How to make the activity case cover:
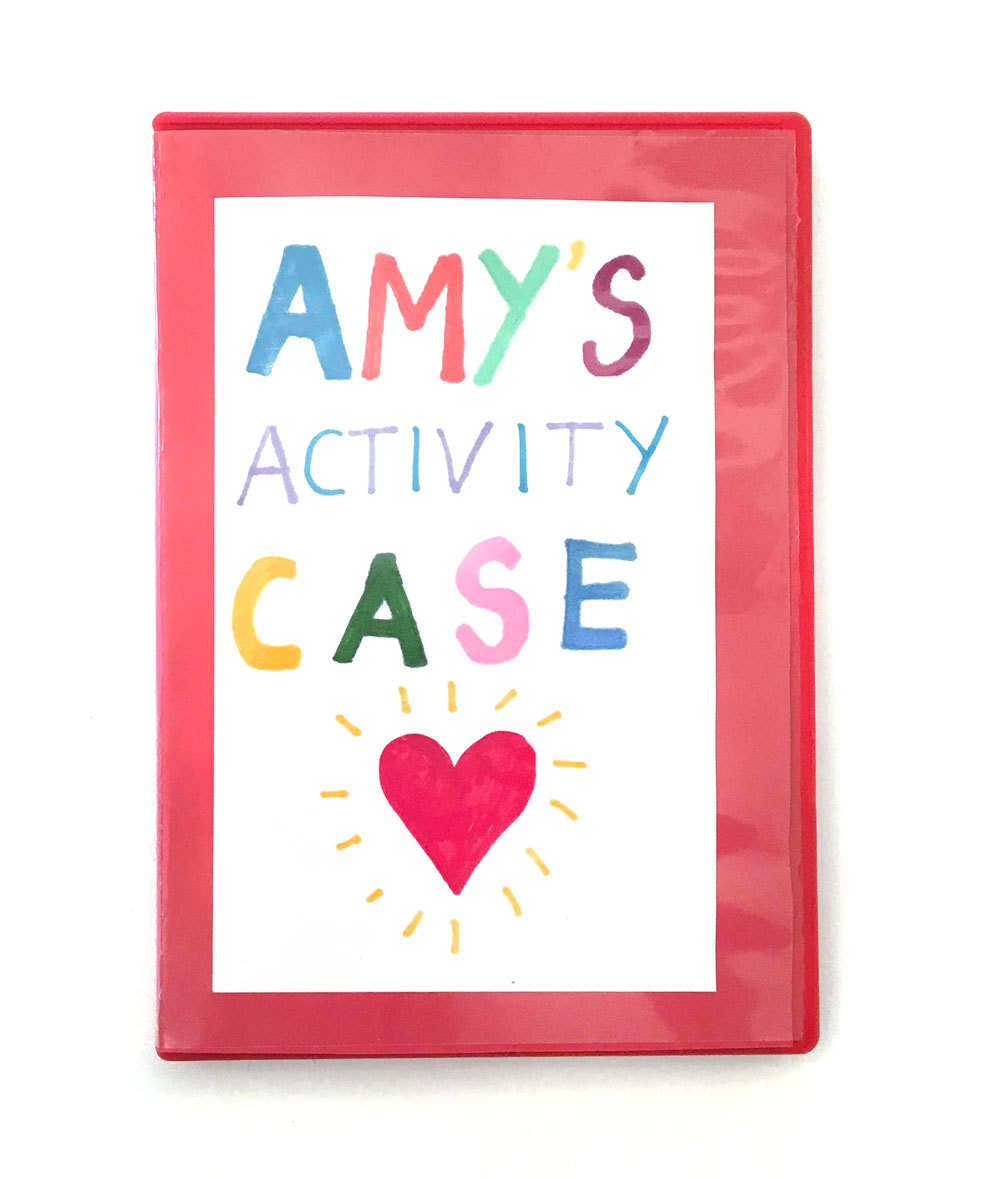
To make the cover for your activity case, remove the cover that is currently in there and trace around it onto a coloured sheet of paper. Then decorate the right hand side and place it back into the DVD case inside the clear plastic.
Subscribe to my newsletter to receive fun craft ideas and freebies!
Please note: this blog post contains affiliate links, however all opinions are my own and I only link to products that I personally use and recommend.
Here's a video showing you how to make this DIY activity kit. Subscribe to my youtube channel for more crafty videos!


