DIY Mini Wooden Easel

This craft tutorial shows you how to make a mini easel out of lolly sticks! Once you have made your own DIY wooden easel you can use it to display your drawings and paintings. This is a great craft for kids as it is nice and simple.
For this craft you will need:
Glue gun or PVA glue
Please note: this blog post contains affiliate links, however all opinions are my own and I only link to products that I personally recommend.

Step 1:
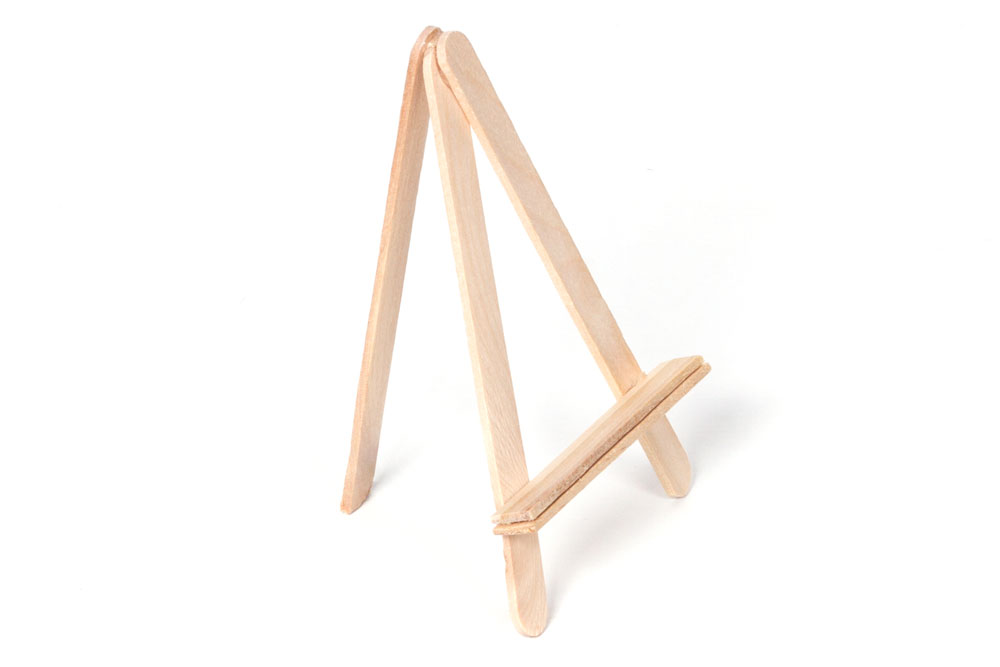
Use the glue gun (or PVA glue if young children are making this craft) to glue the ends of two lolly sticks together creating a triangular shape.
Then carefully use the scissors to cut another lolly stick to about half the length. Cut another stick to the same size and glue them both together. Once the glue has dried, stick these lolly sticks to the triangular shape as shown in the photo above.
Step 2:
Get another lolly stick and trim the curved edge off of the bottom with the scissors. Then glue the remaining curved edge of the stick to the top of the triangular shape you made in step 1. This will create an easel shape that stands up on its own.
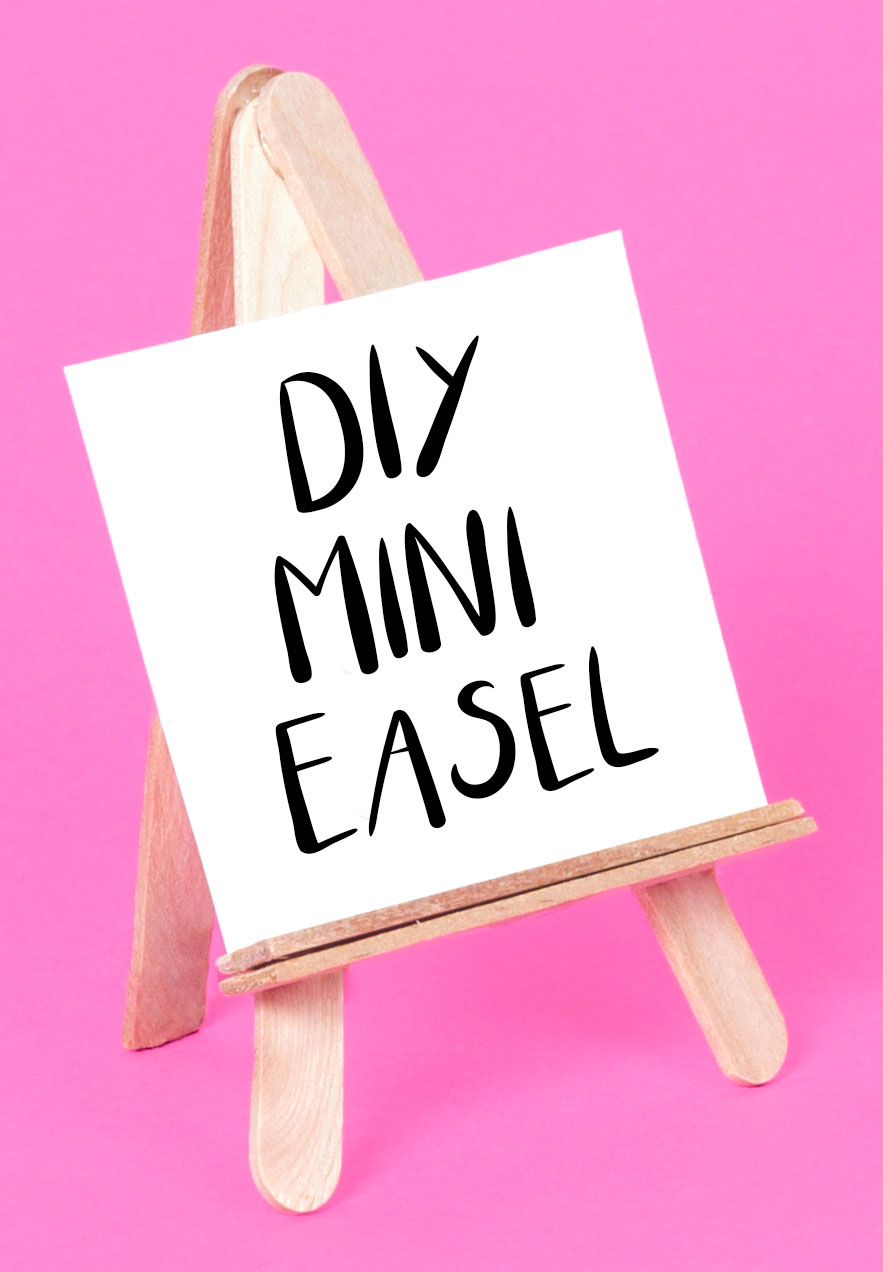
Once all the glue has dried you can display your artwork on you diy mini wooden easel! You could even paint your easel to make it bright and colourful.
Subscribe to my newsletter to receive fun craft ideas, offers and freebies!